You have arrived in the Attrexian colony, your mission is to assist the Attrexians.
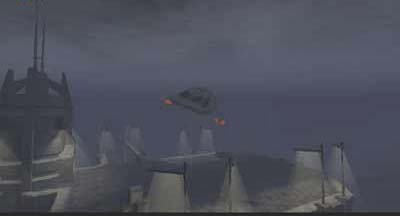
 You've safely landed... You've safely landed...
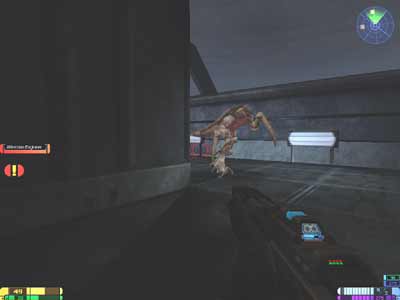
Proceed across the bridge. |
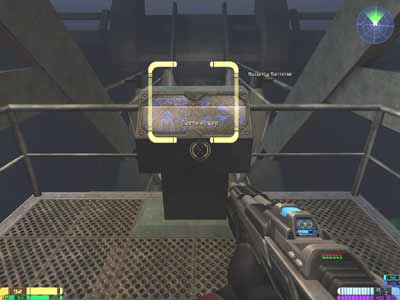
 Conveniently, the door is clamped shut. Even more conveniently, tricorder shows that you can blast the clamp. However, inconveniently, the door still won't open. Jurot tells you to go back across the bridge, to the room in the tower beside the launch pad to activate a control panel. Conveniently, the door is clamped shut. Even more conveniently, tricorder shows that you can blast the clamp. However, inconveniently, the door still won't open. Jurot tells you to go back across the bridge, to the room in the tower beside the launch pad to activate a control panel.
|
 After that, two exomonsters come crashing down, unfortunately onto the bridge, you'll have to eliminate them! After that, two exomonsters come crashing down, unfortunately onto the bridge, you'll have to eliminate them!
After that ordeal, you could go back to the room in the tower and restore your health and ammo with the terminals provided.
Then jump over the crack in the bridge and move inside the complex. |
 Your hazard team will now follow you inside. Several small monsters will come out and attack you. You can leave it your hazard team to destroy them. Your hazard team will now follow you inside. Several small monsters will come out and attack you. You can leave it your hazard team to destroy them.
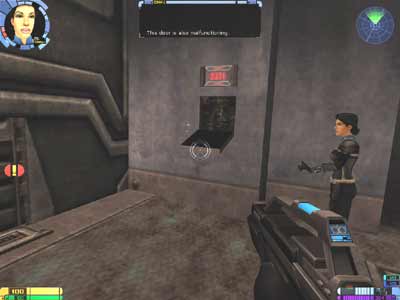
Now, Jurot will inform you that the second door is also malfunctioning. Being the main character, Munro automatically volunteers to scout ahead. Which basically means that you will be alone for most of this level! |
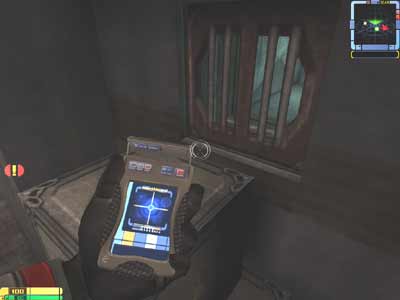 Using your tricorder to scan around, you will find a breakable vent. Using your tricorder to scan around, you will find a breakable vent.
Break the vent door and proceed inside. |
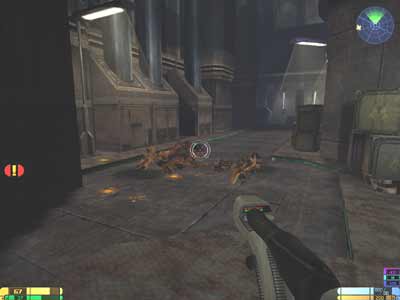
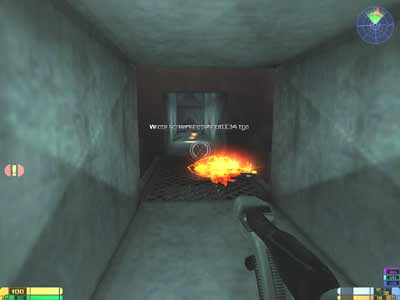 You will enconter monsters, but they are easily fried with your phaser. You will enconter monsters, but they are easily fried with your phaser. |
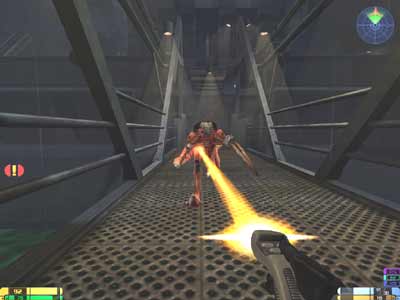 After coming out of the vent, you will encounter more monsters. It is advisable to use a more powerful weapon than the phaser. You should also stay a fair distance away from the alien. After coming out of the vent, you will encounter more monsters. It is advisable to use a more powerful weapon than the phaser. You should also stay a fair distance away from the alien.
You will also have to beware of the bat-like exomorph turret hanging at the other end of the bridge, shooting bolts at you.
After the trolls are punished, you should go back and use the health and ammo terminals near the door. |
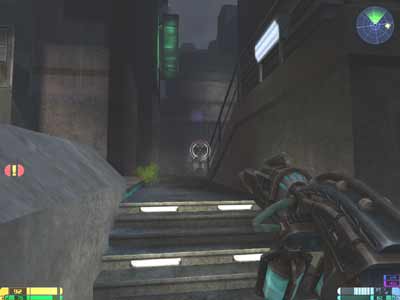 When you are ready, go across the bridge. You should then turn left and move up the stairs. More exomorphs will be unleashed and chasing you. A strategic retreat back to the bridge is a good idea, if there are too many rushing at you. Taking them one at a time is much easier. When you are ready, go across the bridge. You should then turn left and move up the stairs. More exomorphs will be unleashed and chasing you. A strategic retreat back to the bridge is a good idea, if there are too many rushing at you. Taking them one at a time is much easier.
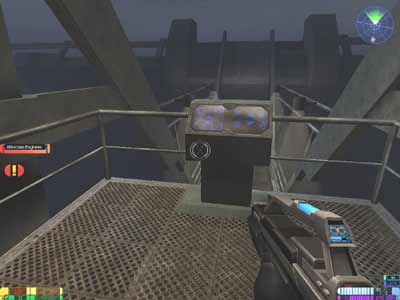
After they are wiped out, turn right and go up a ramp into a side walk. You should now see the control panel. Use it. |
 In a predictable turn of events, complication arises and you have to find an Attrexian engineer to help you open the door. One wonders why they don't just go through the vent like you did. Let's hope Tuvok gives them a smack on the head for being so illogical. In a predictable turn of events, complication arises and you have to find an Attrexian engineer to help you open the door. One wonders why they don't just go through the vent like you did. Let's hope Tuvok gives them a smack on the head for being so illogical.
You now have to find an Attrexian engineer. Continue moving through the side walk. |
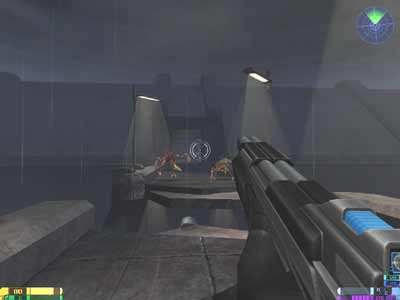
 You will arrive in this open area, several monsters will be meteoring down. Neutralize them and proceed to a corridor on your left. There should be a bat-like exomophic turret welcoming you. You will arrive in this open area, several monsters will be meteoring down. Neutralize them and proceed to a corridor on your left. There should be a bat-like exomophic turret welcoming you.
After the taking outthe trash, proceed and you shall hear somebody calling for help. |
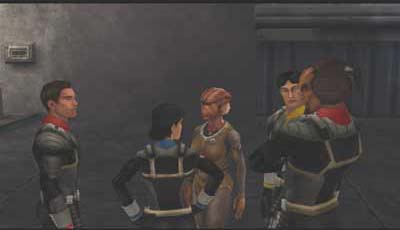
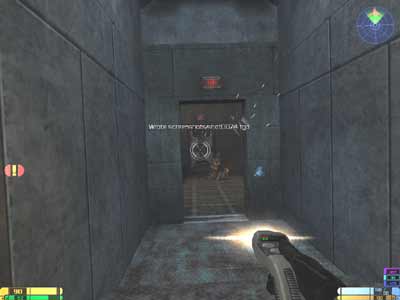 Blast the door on the left corridor and two Attrexians will reveal themselves to you. Blast the door on the left corridor and two Attrexians will reveal themselves to you.
"Thank the fates!" they'll say...
They are in need of medical help. Jurot's expertise will be needed later.
Pickup the ammo on the corner and exit the room.
Continue through your original route to another opening. You will find more enemies. Eliminate them! |
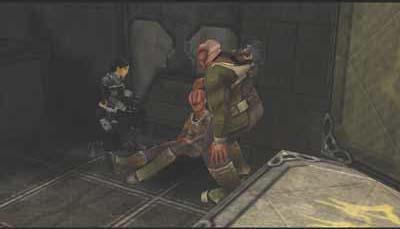
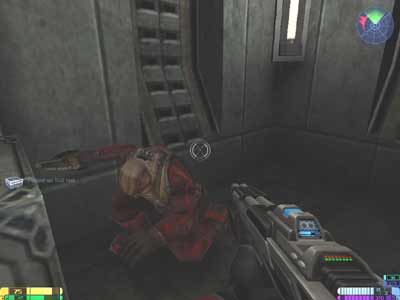 On the far right corner will be crates. Go behind them and a Attrexian in retreat will greet you. On the far right corner will be crates. Go behind them and a Attrexian in retreat will greet you.
"Thank the fates!" and indeed as he's our man, the Attrexian engineer. You'll need to protect him until you reached the control panel.
The fates has also brought more enemies. Eliminate them and proceed to the door left of the corridors you came from. |
 You will find yourself back at the area after coming from the stairs from the bridge. You will find yourself back at the area after coming from the stairs from the bridge.
Destroy the exomorphs and proceed up the ramp to the control panel. |
 "Now on the count of three..." You have to synchronize your timing with the Attrexian engineer. Press AFTER he has said 3. "Now on the count of three..." You have to synchronize your timing with the Attrexian engineer. Press AFTER he has said 3.
The door should open and the rest of the hazard team destroys a few monster on their way to meet you.
Bring the team to the injured Attrexian. |
 After Jurot has healed the Attrexian, you will learn that the Attrexians are hiding in the underground sewer pipes. You will need to get there. After Jurot has healed the Attrexian, you will learn that the Attrexians are hiding in the underground sewer pipes. You will need to get there.
Follow the Attrexian guide as he leads you. |
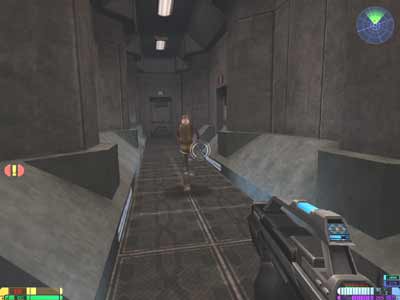 Follow the leader... Follow the leader...
After proceed through a door in a corridor, a cutscene is shown. |
 For some warped reason, it was decided that Munro stay behind. For some warped reason, it was decided that Munro stay behind.
You'll now have time to look around the area and load yourself up. There are several ammo packs and a health terminal.
After you are done, go to and activate the door where the health terminal is. A cut scene is shown. |
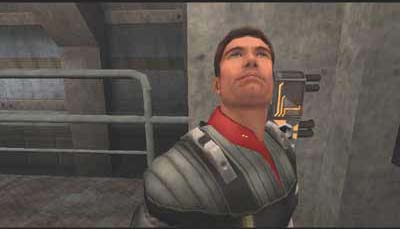 Munro has that worried look, this is going to be fun... Munro has that worried look, this is going to be fun...
After that, you'll see our Attrexian guide is no more and you're left to face this big monster that came from the heavens. As usual, the rest of the crew misses out on the action. I thought this was the Hazard Team. So where's my team mates? |
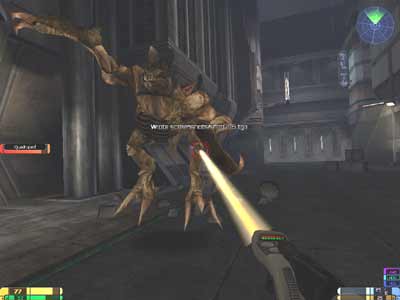 The giant boss "Quadruped" is not hard to kill. Using the Attrexian Arc Launcher method of combining the alt-fire cloud of gas and normal fire, igniting the gas is quite effective. Just evade its missiles and don't let it get anywhere near you. The giant boss "Quadruped" is not hard to kill. Using the Attrexian Arc Launcher method of combining the alt-fire cloud of gas and normal fire, igniting the gas is quite effective. Just evade its missiles and don't let it get anywhere near you.
The depleted phaser can also be quite good when you have used all the other weapons. Aim your phaser squarely at the monster's turrets and he and his fancy missiles will be nerfed until you loose aim of him. |